
This was my submission for the So You Think Your Crafty Auditions. I didn't make the top ten so I won't be going on (I think I was 12). It was fun seeing all the other fun projects and finding new to me blogs! There was alot of fun projects submitted and I am excited to see what season 3 brings. Anyways, I took pictures while I was making it so here is a tutorial!
 Here is what you will need:
scraps of fabric, doilies, trim, really you could use anything that could be sewn down and would look cute.
 You will also need two pieces of your main fabric (I used a cream colored Kona cotton) and a piece of batting (I used warm and natural batting)
You will also need two pieces of your main fabric (I used a cream colored Kona cotton) and a piece of batting (I used warm and natural batting)I cut my pieces about 37" by 13" but you can make any size you want.
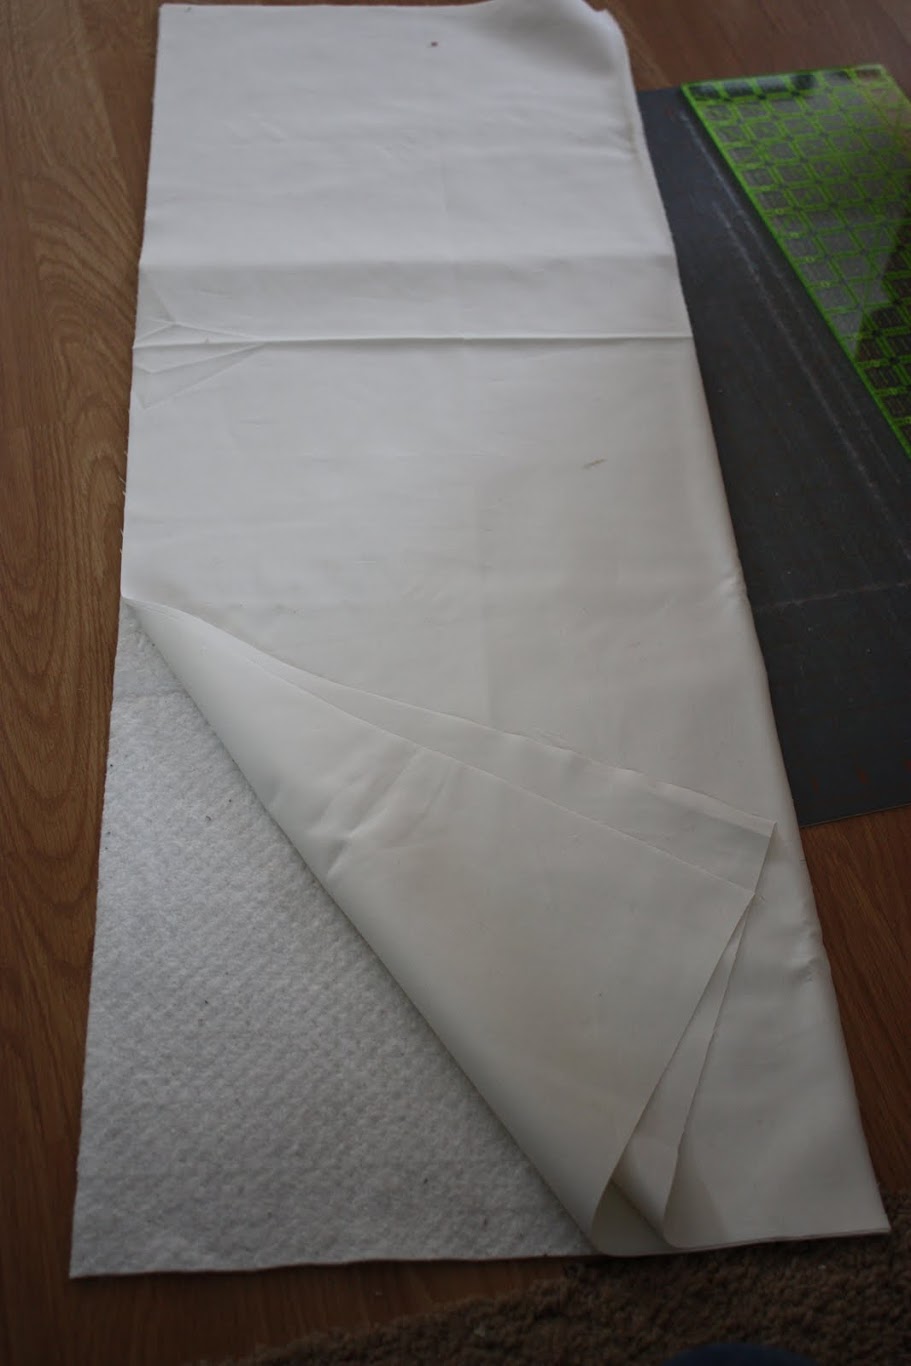
 Once you have your two main fabric pieces and your batting cut, lay them down in this order: batting first, then your two main fabrics on top of that right sides together.
 Then pin all your layers together so you can sew them together without them shifting. ( I know this part isn't fun, I hate pinning and avoid it unless I have to).
 Then starting somewhere in the middle of a side, sew around the whole thing using a 1/4 inch seam, except you need to leave about a 3 or 4 inch hole so that you can turn it right side out.

like this
 Once you have sewn around the whole thing, clip the extra corner fabric tips off to make it easier to turn the corners out.
 Then turn it right side out, I like to use a plastic chopstick I found at IKEA to help with the corners.

Once you get it right side out, take it to your ironing board and iron the whole thing, taking care to pay attention to that hole you left for turning and ironing that part in so you won't be able to tell where it was.
 Then, sew around the edge, again pay attention to the part where the hole was to make sure you get it sewn shut.
 After I got that done I added pom pom trim to both my ends. (sorry for the picture quality, it started getting dark when i made this and I am too lazy to edit the pictures right now). After that I just layed down my bits of handkerchief and doilies down and then cut pieces of fabric to fit in the spaces that were left. I hope that makes sense.
 Then I pinned them all down.
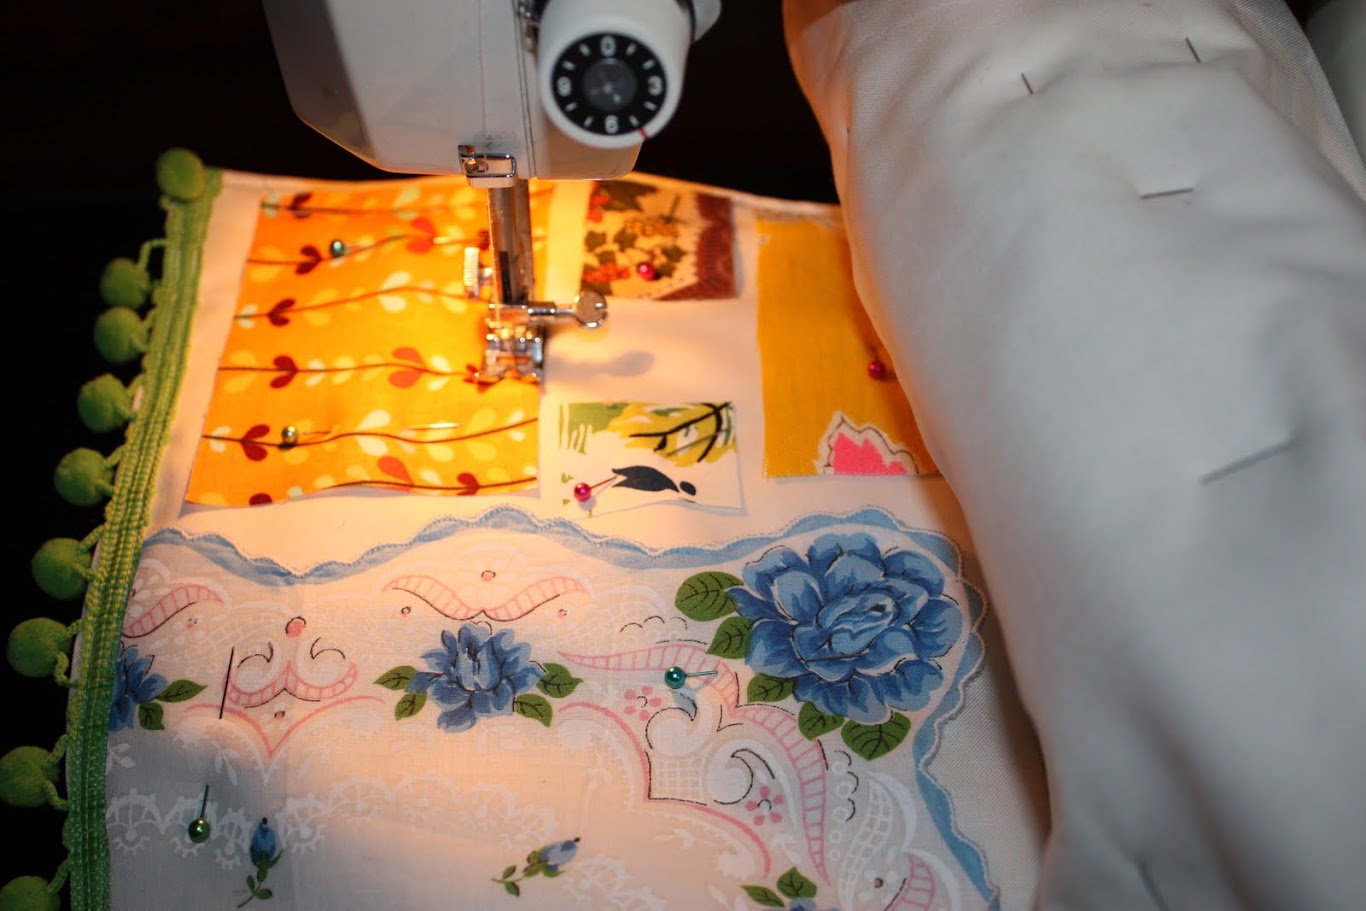 Now, take it to your sewing machine and sew all those bits down, (I left the edges of all my fabrics raw by the way, once it goes through the wash they will get a yummy frayed edge) I rolled the one end up so it would fit nicely in my sewing machine. Just be careful of the pins so you don't get poked ( I didn't get poked at all ) :)
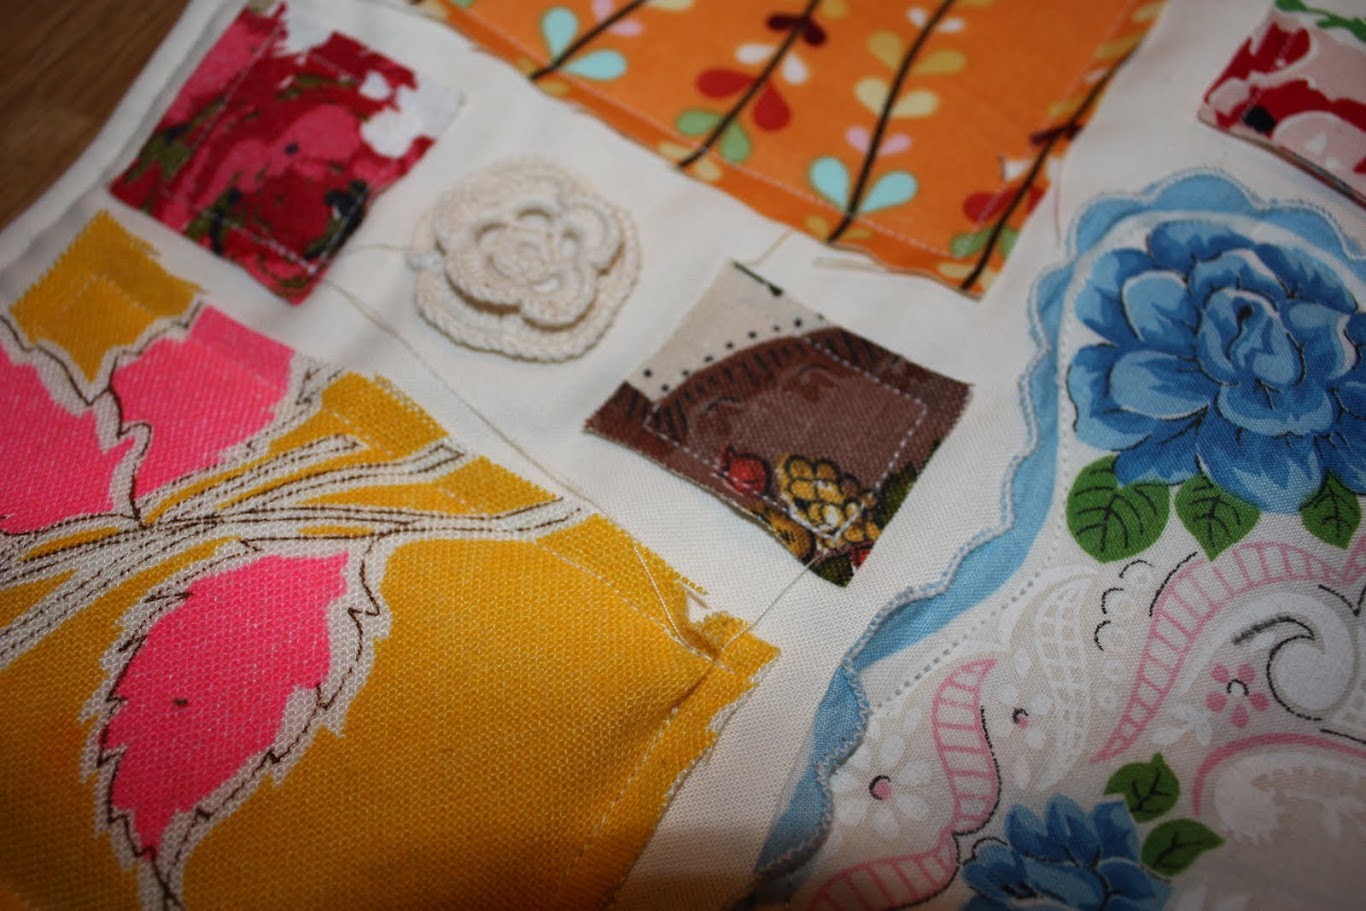 And here's a tip, when I got one piece all sewed down, I didn't cut the thread, I just picked up the presser foot and moved over to another piece. Can you see the threads in the picture? Then after I got all the pieces sewn down I clipped all the threads.
 Then I added bits of embroidery wherever I felt like it.

Then you are done and you have a happy table runner!
Once you have your two main fabric pieces and your batting cut, lay them down in this order: batting first, then your two main fabrics on top of that right sides together. Then pin all your layers together so you can sew them together without them shifting. ( I know this part isn't fun, I hate pinning and avoid it unless I have to).Then starting somewhere in the middle of a side, sew around the whole thing using a 1/4 inch seam, except you need to leave about a 3 or 4 inch hole so that you can turn it right side out.like this
Once you have sewn around the whole thing, clip the extra corner fabric tips off to make it easier to turn the corners out. Then turn it right side out, I like to use a plastic chopstick I found at IKEA to help with the corners.Once you get it right side out, take it to your ironing board and iron the whole thing, taking care to pay attention to that hole you left for turning and ironing that part in so you won't be able to tell where it was.
Then, sew around the edge, again pay attention to the part where the hole was to make sure you get it sewn shut.After I got that done I added pom pom trim to both my ends. (sorry for the picture quality, it started getting dark when i made this and I am too lazy to edit the pictures right now). After that I just layed down my bits of handkerchief and doilies down and then cut pieces of fabric to fit in the spaces that were left. I hope that makes sense. Then I pinned them all down.Now, take it to your sewing machine and sew all those bits down, (I left the edges of all my fabrics raw by the way, once it goes through the wash they will get a yummy frayed edge) I rolled the one end up so it would fit nicely in my sewing machine. Just be careful of the pins so you don't get poked ( I didn't get poked at all ) :)And here's a tip, when I got one piece all sewed down, I didn't cut the thread, I just picked up the presser foot and moved over to another piece. Can you see the threads in the picture? Then after I got all the pieces sewn down I clipped all the threads. Then I added bits of embroidery wherever I felt like it.Then you are done and you have a happy table runner!