Sew La Ti Embroidery [Search results for tutorial]
Bee Blocks Update

Crafts on the Road

Sew mama sew giveaway time!!

Sew and Tell Friday!!!!

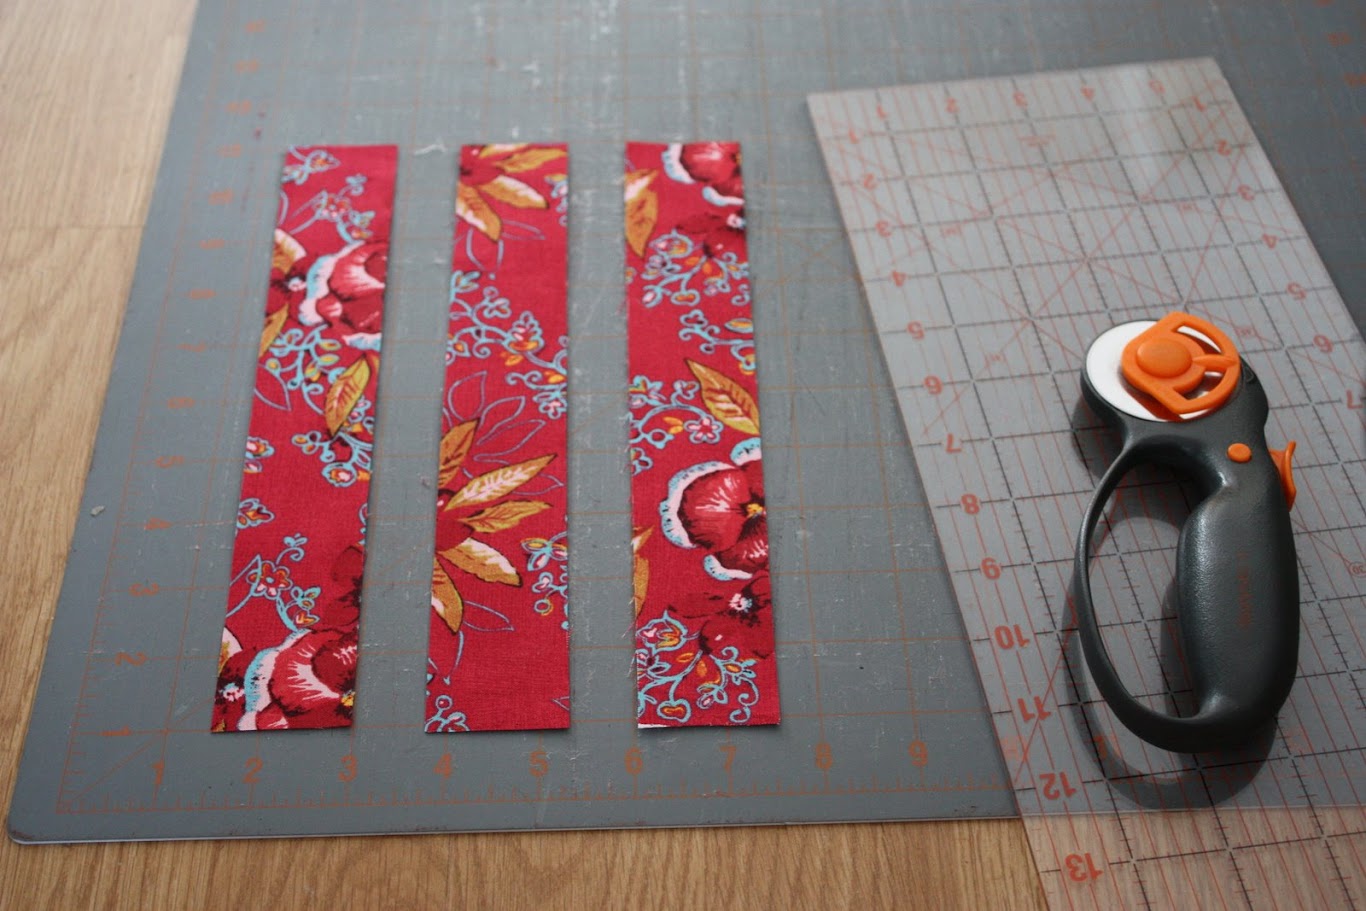
Scrap Happy Table Runner tutorial

Fabric necklaces

Patchwork skirt love

Small Sewing

Thrifty Fashion!!! Sew and Tell

Before and After

A Finish!!

Quilting for Australia

Sew and Tell Friday

Sew and tell!

Sew and tell

Sew and Tell- Baby Week

Little bunny foo foo

Sew and Tell Friday

Flower embellishment tutorial
April's quilting bee block
