Sew La Ti Embroidery
:
tutorial
How often do you change your needles?
Flower embellishment tutorial
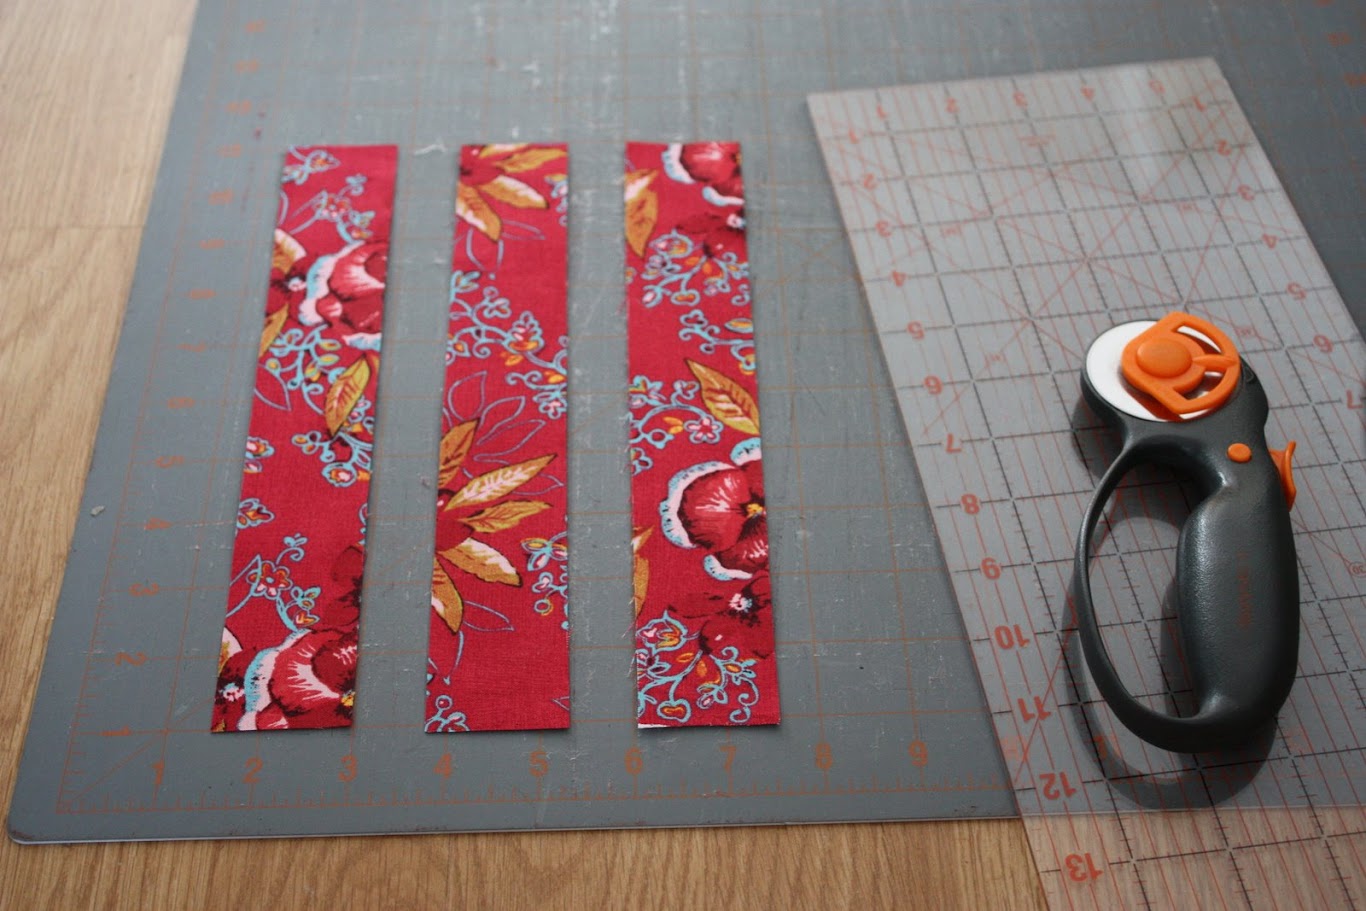
Scrap Happy Table Runner tutorial
NEXT >>